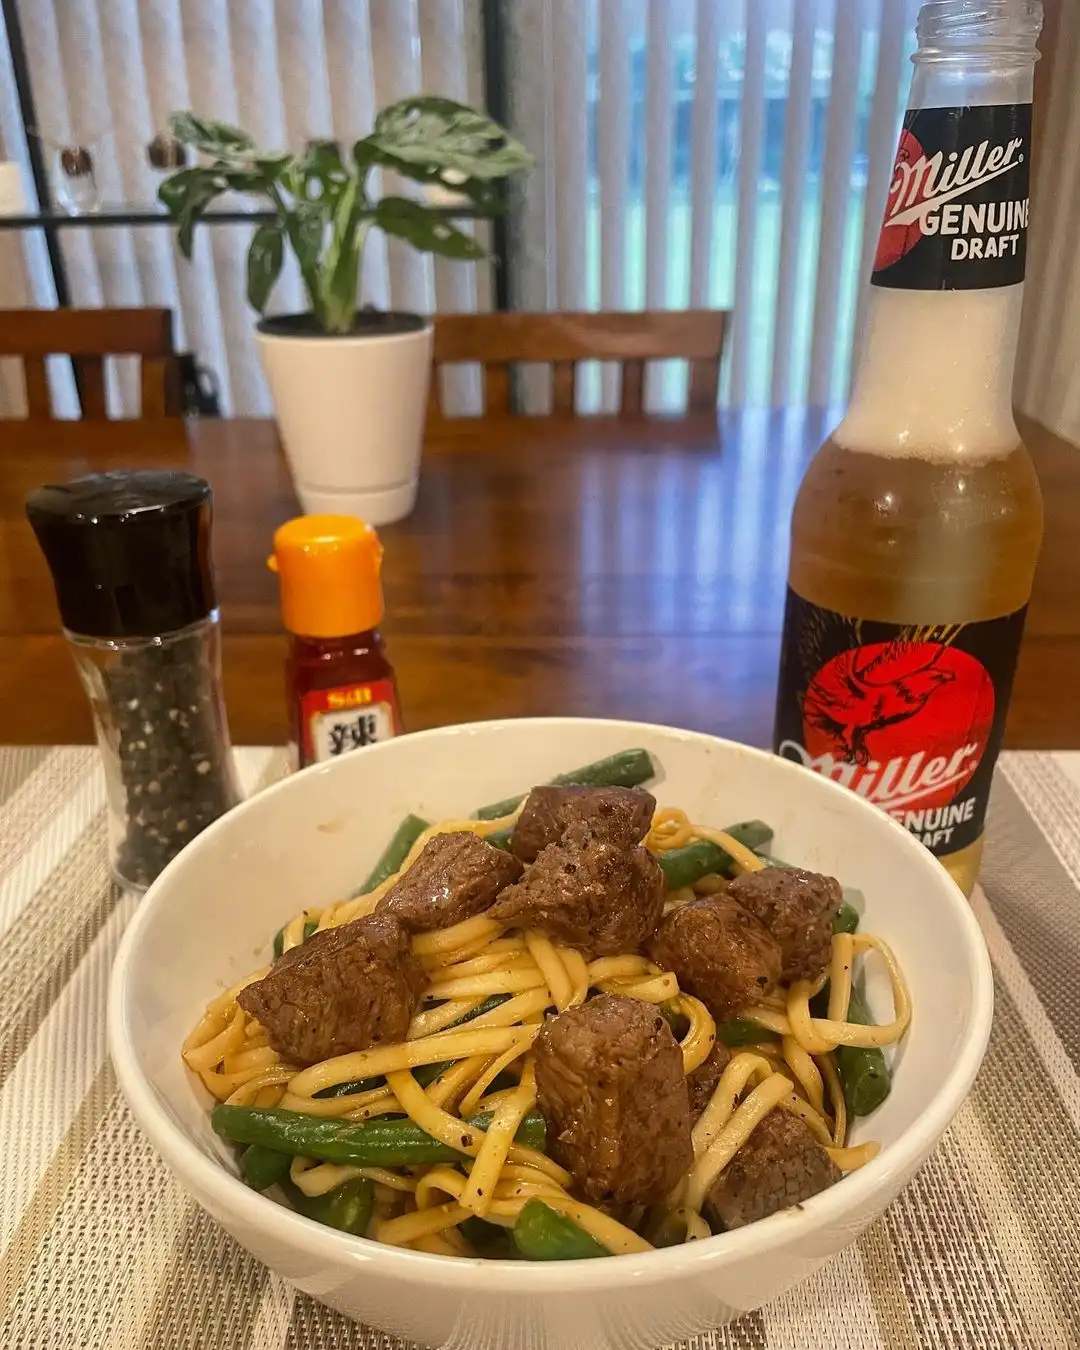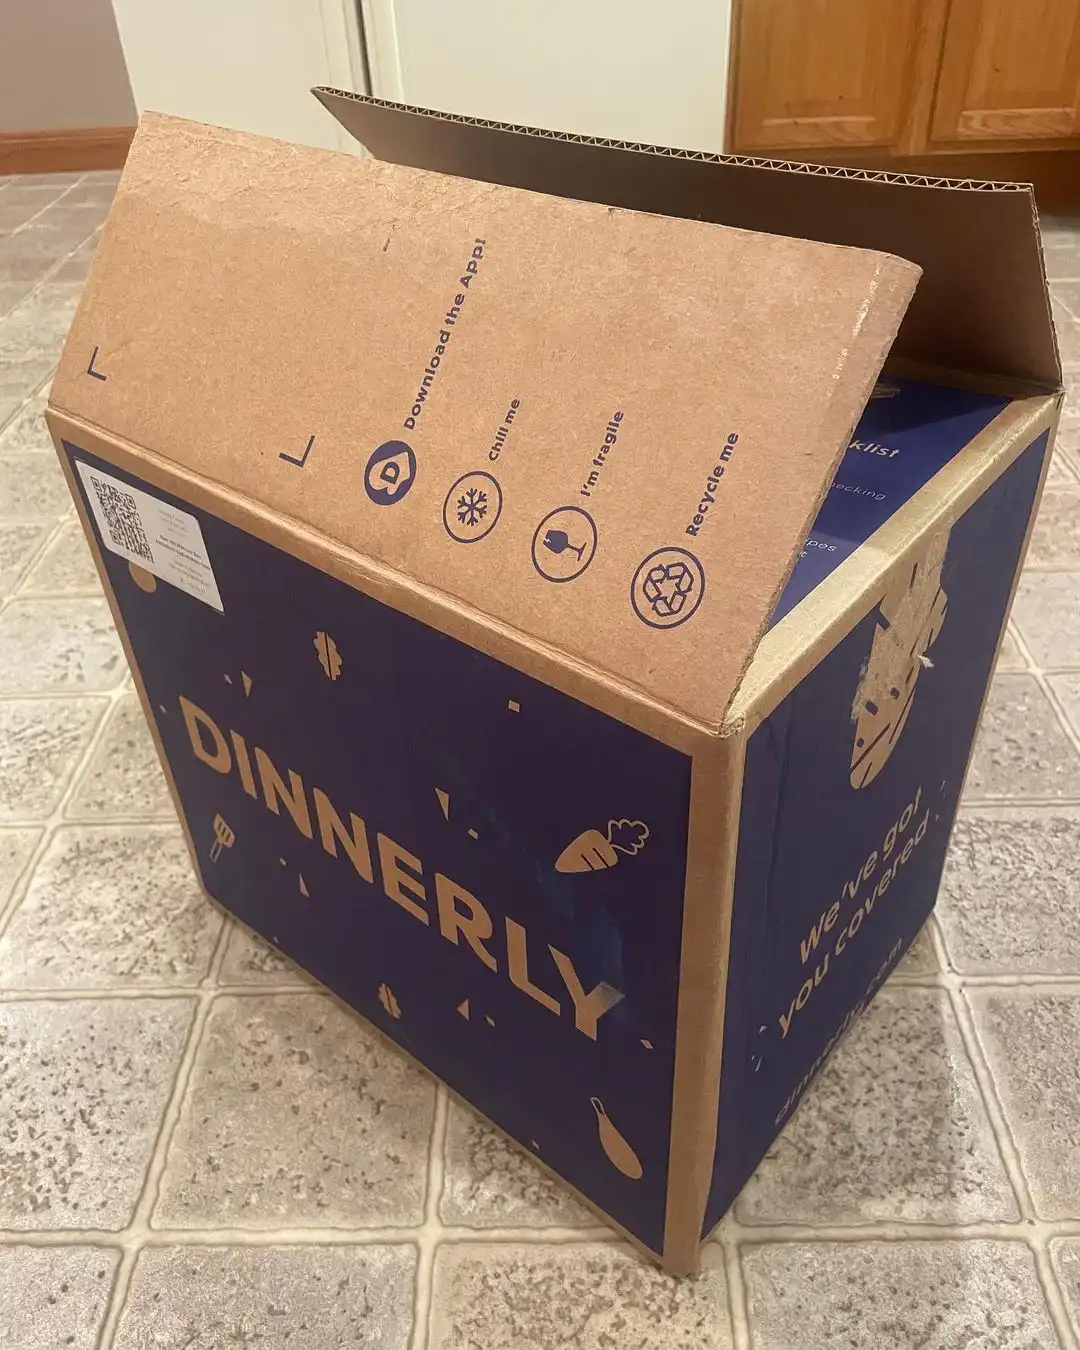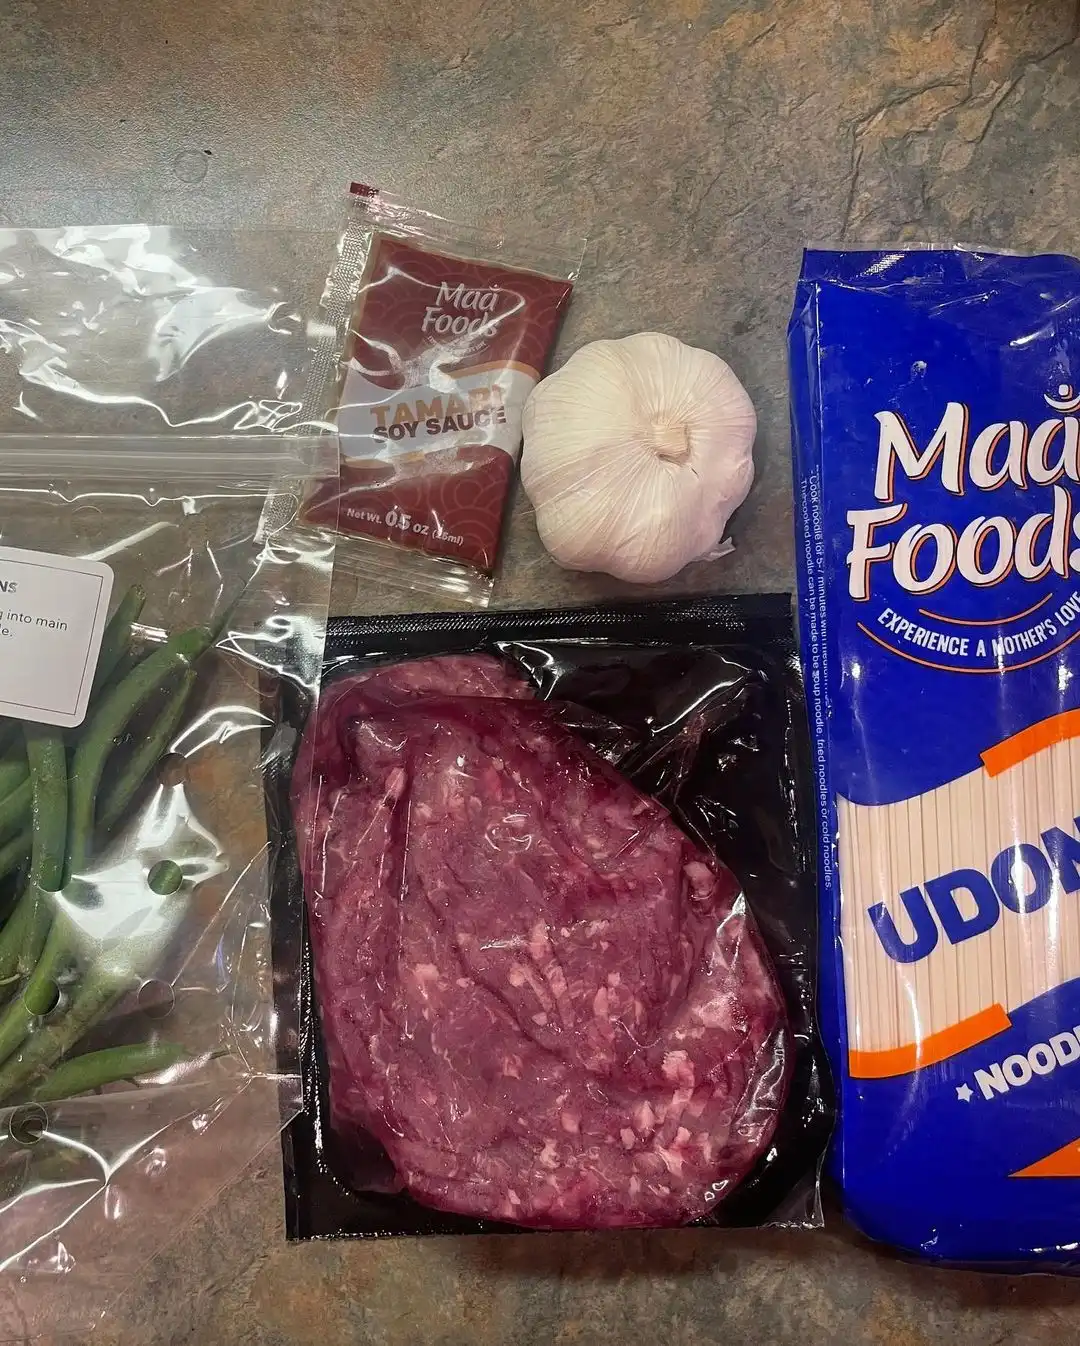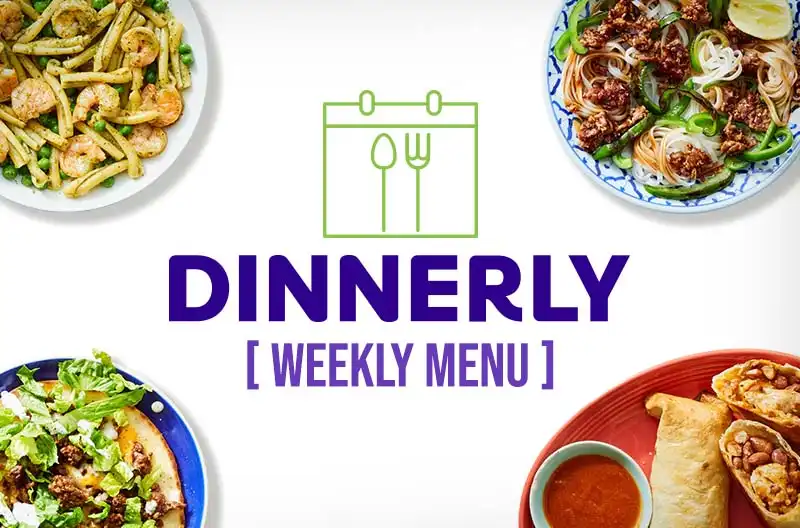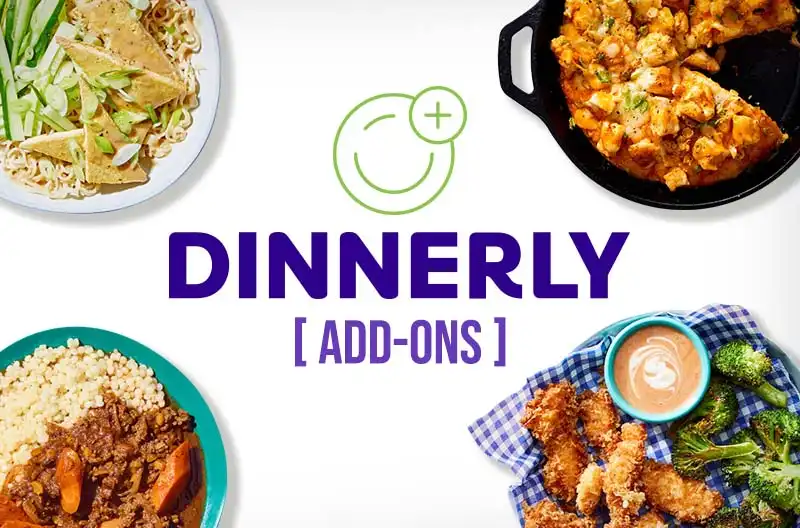
With Dinnerly, you can breeze along through the meal selection process. The website can be handled without any effort, even if you consider yourself the least bit tech-savvy. The interface is well-streamlined and intuitive without bombarding you with too many options.
Step 1 – Select Your Box Size
Start with selecting a box with the help of two options: the number of people and the number of meals per week.
The 2-serving-per-meal-kit plan is ideal for singles or couples with a busy lifestyle who want to save time and money doing grocery shopping. Dinnerly lets you explore worldly cuisines more realistically, introducing meals that you probably would never cook yourself even if you had the time.
Additionally, the 2-serving-per-meal-kit plan is also useful for someone looking to hone their cooking skills and learn new techniques by incorporating varied ingredients and flavors.
The 4-serving-per-meal-kit plan is ideal for families, small gatherings, and roommates. It simplifies cooking for multiple people at a time without compromising on quality, taste, and dietary preferences. You can still eat food that’s delicious and nutritious while minimizing cost, effort, and the use of time.
On the meal plan selection page itself, Dinnerly gives you the option to make the entire meal box vegetarian. Recipes with meat will be excluded, and all your meals are delivered with fresh and high-quality plant-based proteins like tofu, beans, lentils, peas, chickpeas, greens, tempeh, quinoa, nuts, and seeds.
The price per portion, total number of portions, shipping, and total cost per week will be calculated right in front of your eyes, so you know exactly how much you pay and expect before even signing up.
Step 2 – Add Your Zip Code
The next step of the process is the Set Location page where you have to enter your delivery ZIP code and email address.
Step 3 – Set Up Your Delivery
Now, this is my favorite part about Dinnerly – the Delivery Details page. Dinnerly gives you access to the tiniest detail about their meal selection process including their delivery customizations – all this before you sign up. It’s so concise and confident about its features, so you can comb through every feature before you decide to share your details.
Here is where you can select your preferred delivery day – they deliver 6 days a week, excluding Sundays.
Moving forward, choose your delivery time slot which, by default, is between 8 a.m. and 9 p.m., although it may differ in certain areas.
Step 4 – Choose Your Meal Recipes
Lastly, pick the week you want the meal kits to be delivered. Dinnerly provides you with 4 upcoming weeks, starting every Monday.
Fill in your delivery details, select your preferred payment option, and then choose the meals you want to cook and eat.
Read More: Blue Apron Review


